

Made sure the stock firmware printed the example gcode that came on the SD card and then immediately embarked on my journey to get klipper running on this guy.
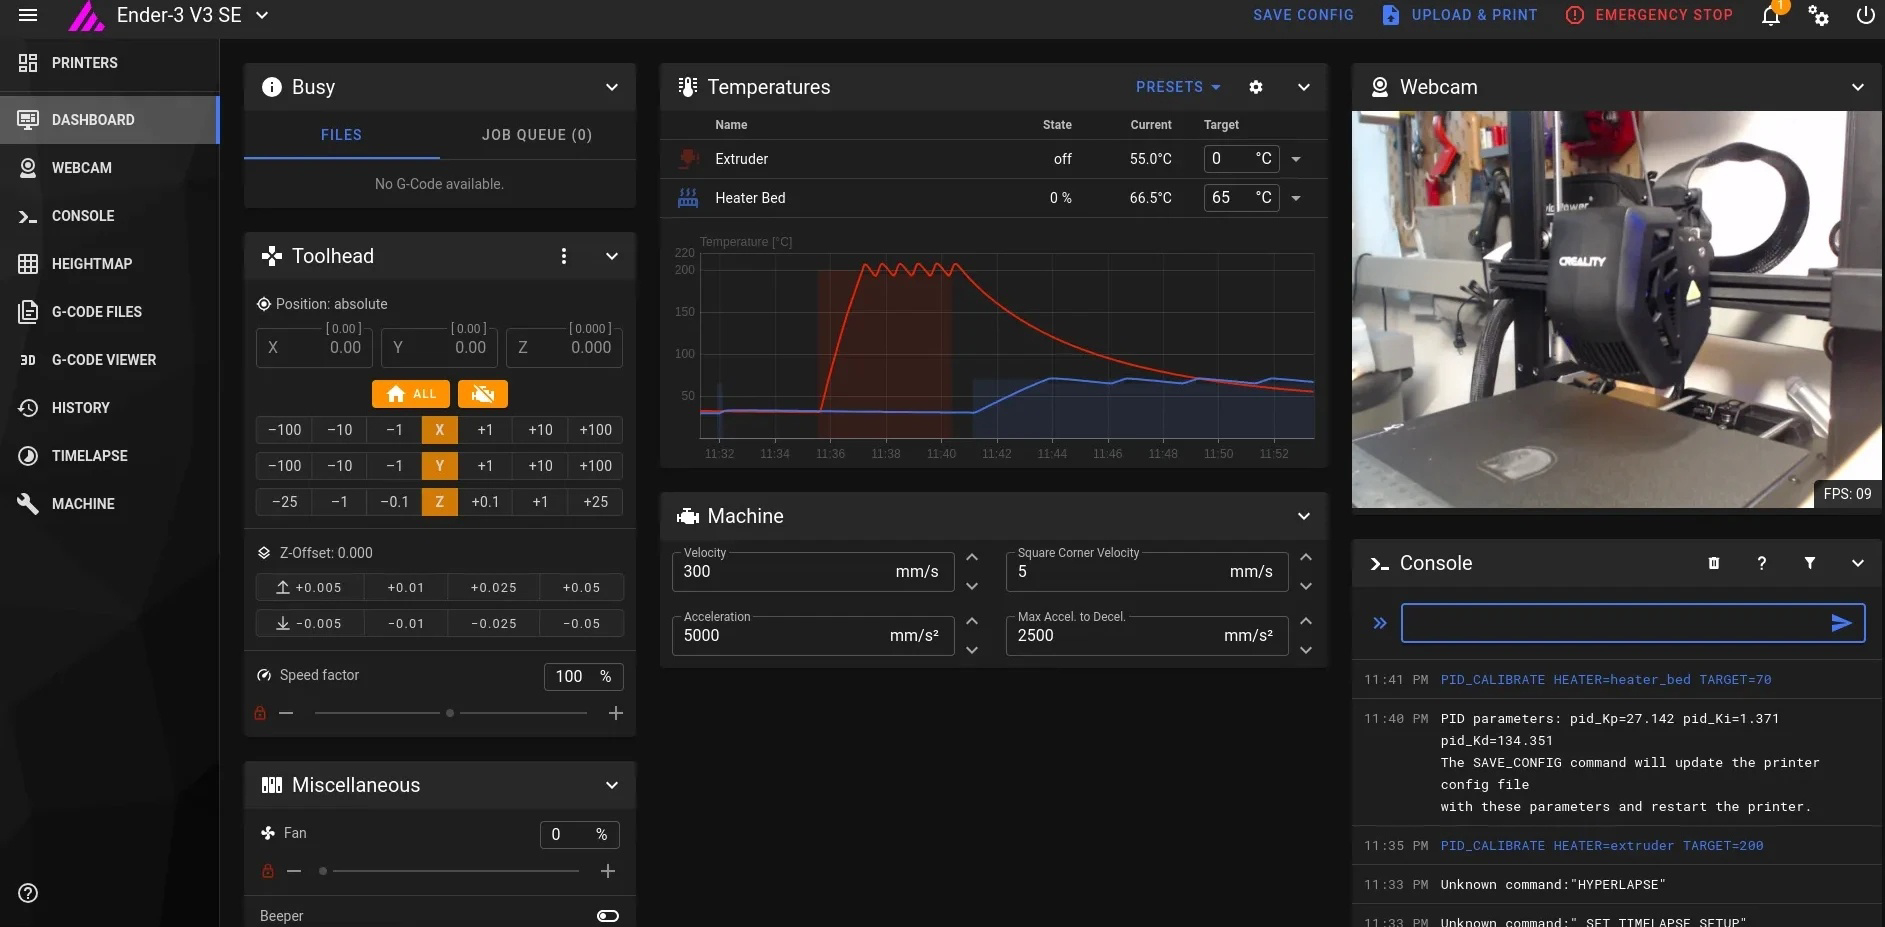
I didn’t finish until the wee hours this morning so I’ve yet to really give it a go but all the essentials are operational.
Here’s the GitHub link to the config I created: https://github.com/0xD34D/ender3-v3-se-klipper-config
To your printer.cfg I’d add:
[exclude_object]
Allows you to cancel individual items. If you have multiple items printing and one fails in one way or another you can cancel just that object and continue the rest of the print. Literally the only thing is add the bracketed thing to the cfg and it’ll add a icon next to the pause button that gives you the options.
Meh on the next part. I see that version doesn’t have bed level knobs. I’ll leave it if there is someone else who doesn’t know about it.
I’ve also found that one of the bed screw leveling options is very helpful for getting the bed close enough for the bltouch to really be dialed in. I use
[bed_screws] Screw1: 32.5, 202.5 Screw2: 32.5, 32.5 Screw3: 202.5, 32.5 Screw4: 202.5, 202.5
Then in the console run: bed_screws_adjust
Just moves the nozzle to each of the four corners right above the leveling knobs. Makes it pretty simple. I will add that the coordinates I use are fore a ender3pro but should be the same ish for you. But don’t quote me on that.
So I add that as an include from another config. It’s saved me from a few complete failures 😁. For this I was trying to keep it as a basic config for others to use as a good base and I would like to submit a PR, eventually, to include it in klipper’s example configs.
even better, add [screws_tilt_adjust] to take advantage of the crtouch and a little fancy computer math to make leveling super easy.
after configuring the screw locations and thread pitch, execute the command screws_tilt_calculate
https://www.klipper3d.org/Manual_Level.html
ender beds use M4 screws
I’m going to look into adding this in, thanks for the tip!