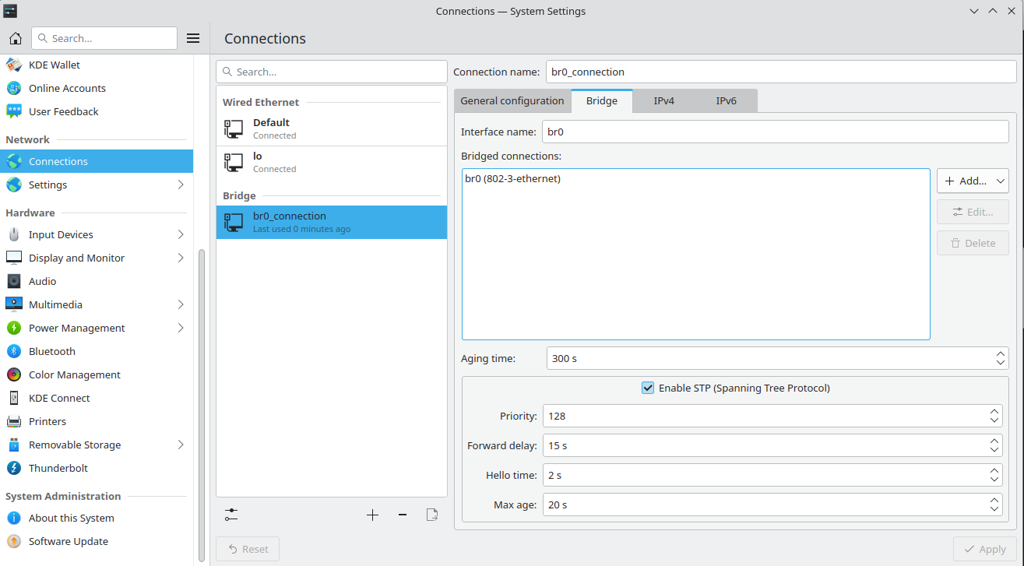
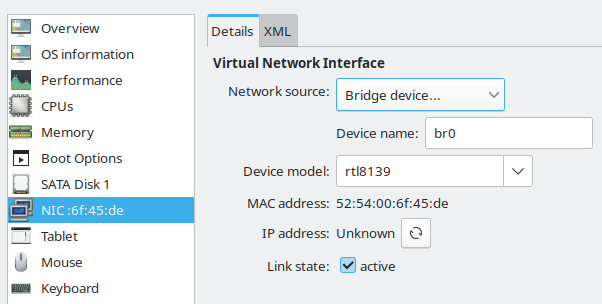
It it possible to set these up entirely in a GUI instead of nmcli?

We are trying to have multiple local IPs going to our Dell server’s different VMs and I have spent far more time than I’m willing to admit getting this to work into QEMU.
QEMU Settings Look Like This :)

Explain it like I’m stupid for bonus internet points🕵️♂️
Removed by mod
It looks like you haven’t actually created any bridges, just asked virt-manager to use one. If you type: ip a In a terminal it will list your network adapters. If br0 isn’t listed it doesn’t exist.
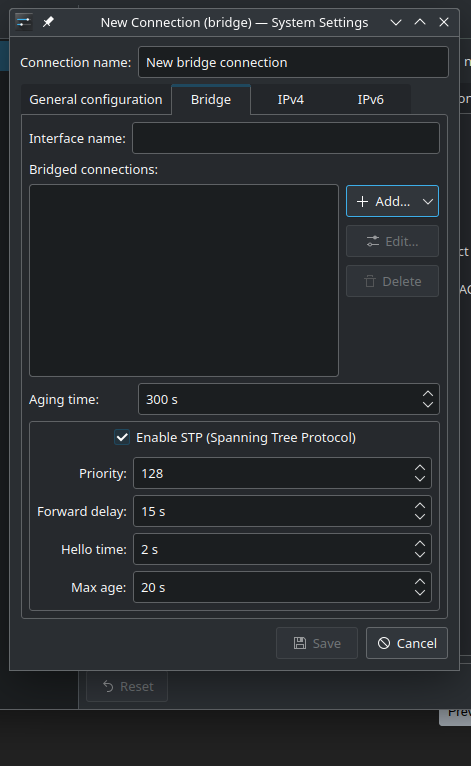
You need to add a physical interface to the bridge. Whatever the one in the “default” connection is probably.
I think nmcli is the easier way to go but this article from redhat has what your looking for in 6.4
Okay. A little context is needed.
Qemu is just the emulator used. For the most part, it cannot handle networking.
Libvirt, is a system daemon, that handles running qemu and whatnot, and also configuring networking. Virt-manager, interacts with this libvirt daemon.
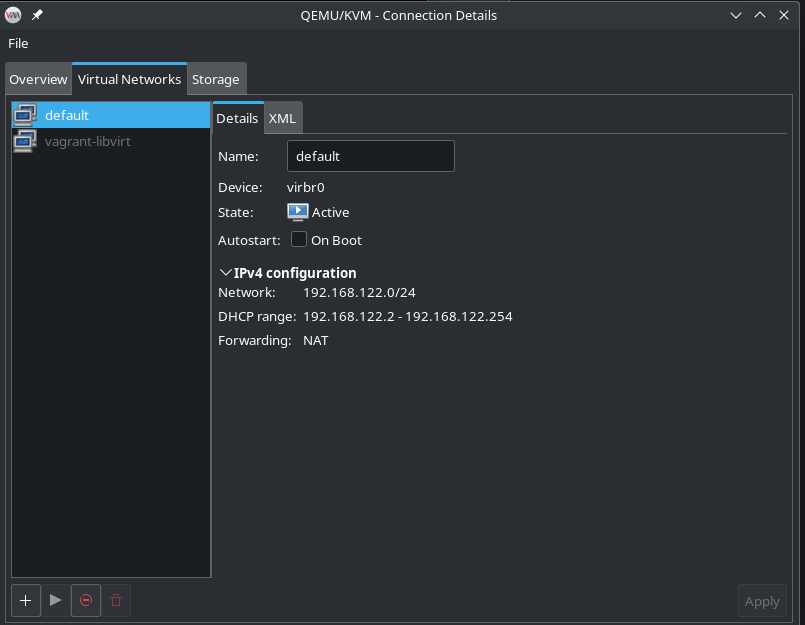
Now, by default, libvirt creates a bridge for all virtual machines to use, to create a simple one-to-many NAT.

The above is looking at the bridge on my laptop*. However, each virtual network has to be started.
Then, when you create a virtual machine, it should automatically select the bridge interface, and no further configuration should be required…
However, that’s just NAT. But configuring the other virtual networking types should also be doable from the virt-manager as well, and I find it kinda weird that you are going to NetworkManager for this. The default is NAT, but
By “multiple local ips”, do you mean something like how virtual machines share a physical device (possibly with the host?), and get their own ip address on the same network as the host?
Macvtap is probably the easier way to do that, just select macvtap and the physical device you want to attatch your virtual machine to, however, there are caveats with host-guest network communication.
Bridged is more complex, especially when you only have one physical ethernet port. Converting an ethernet interface to a bridge usually also prevents it from being used as a normal ethernet port.
The easier, more reliable, tested method requires two ethernet interfaces, both plugged in and connect.
Create a bridge in Networkmanager, and select the non-host interface, as a bridge:

There is a less reliable way if you only have one ethernet interface: if you have only one port, you can convert it to a usable network interface. Although you can do this by hand in NetworkManage (or whatever network management service you are using), there is a much easier way:
- Install Cockpit
- Go to the networking section
- Create a bridge, and add your main ethernet interface as a port.
After that, cockpit will automatically configure bridge to be a usable internet interface as well, and then you can select that bridge as your bridge in virt-manager…
Except I had some issues with nested bridging on kernels older than 6.0, so obviously setup adds extra complexity.
Anyway, I highly recommend you access cockpit remotely, rather than over RDP, if you are going to do this, so that cockpit can properly test the network connection (it automatically reverts changes within a time period if they break connectivity).
I also recommend reading: https://jamielinux.com/docs/libvirt-networking-handbook/ for an understanding of libvirt networking, and which
*okay, maybe inline images are kinda nice. I thought they were annoying at first but they obviously have utility.
If I told you what I was working on you would certainly be like “how tf does he not know this?” but I have… several ethernet ports available for this :).
Appreciate you taking the time to write this all out!
It would allow me to be connected to both the bridge and the only Ethernet port eventually but this required me deleting the connections I made from nmcli entirely first and starting over.
I have quite literally no idea what the difference was THIS time, but it now finally acts as a bridge for the VMs and they all have a different local static IP :)


