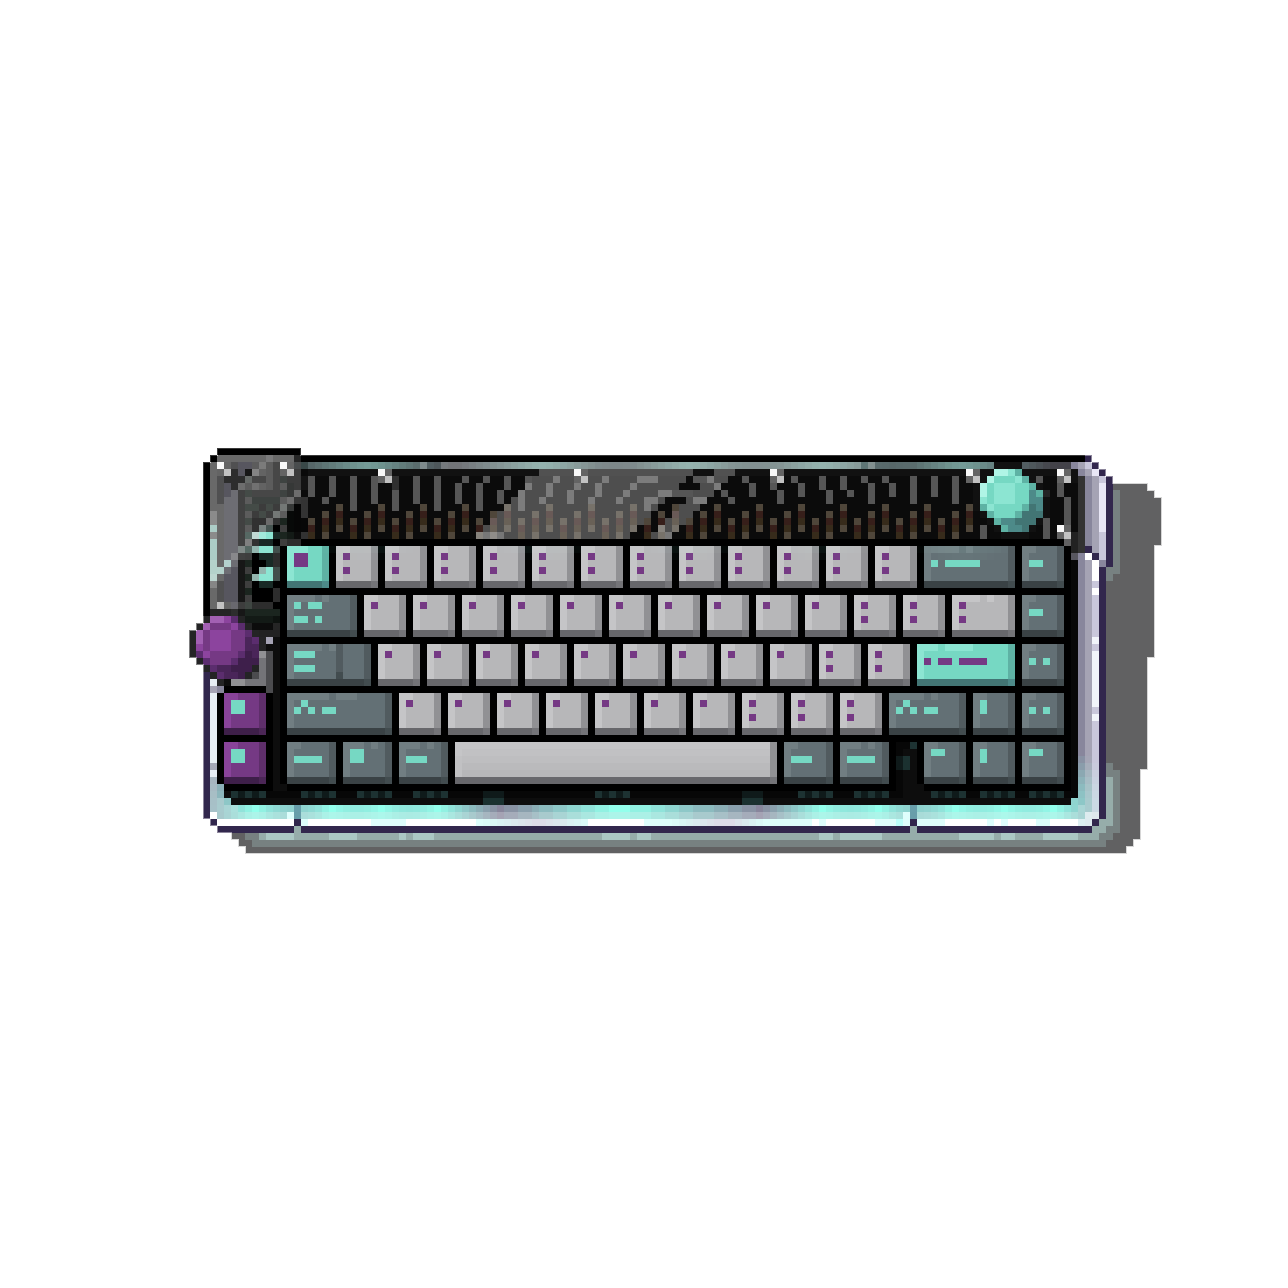
Learned a lot, not completely satisfied with the turnout, but I’ll have more ammo for the next build.
Nice!Nano V2 using ZMK firmware, BLE, and custom PCB made with ergogen, kicad, and purchased thru JLPCB. Going to print a case and learn the keyboard layout.
As someone from outside the ergonomic keyboard community that just came across this via /everything; I’ve always wondered how you work around the missing keys in a keyboard like this. Say, you want to type the name “Emmy”. What key combination do you press for that, seeing as the e, m and y are missing
The layout looks Colemak-ish, so I’d expect the E to be the key labeled 5 on the right half.
Smaller keyboards like this use layers to reuse certain keys, rather than adding more. The idea is to minimize finger/hand/arm movement. Things like choosing a more efficient layout (QWERTY is actuality pretty bad in that regard), using home row mods (so the letter keys under your index fingers double as Shift when held, for example), and so on.
It takes some getting used to, but it actually quickly becomes second nature.
Trading physical effort for mental effort.
After getting used to the mental effort is similar to pressing Shift or Ctrl but you get to keep the physical comfort and the reduced travel.
Additionally you are able to press any key without looking or moving and repositioning your hand, be it symbols, numbers, fn-keys, all of them.
It’s a different kind of effort, one that doesn’t give you RSI or at least improves your situation. And as explained, that mental effort is temporary, it gets engrained in your muscle memory quite quick.
Thank you for the explanation
Not sure what layout OP is going for, but the Miryoku layout features lots of the usual ways people go to fit a full keymap (and more) into such small keebs :)
Thank you
Nifty! Those are some cool looking keycaps
Congratulations! Was it difficult to do? What are those keycaps and which keyboard layout is this?
I’m kinda curious about those caps, as well! The layout looks Colemak-ish, is it far off?
This is a slightly modified colemak.
I suspect the homerow is still ARST… so I wonder.
Colemak has two columns on the digit finger, this layout here however seems to have two columns on the pinkie finger, putting more stess to them?
Or are the keys shifted so the homerow here is VARS, but that doesn’t seem to make sense as the Colemak layout has been designed with the most common keys at the homerow… also the staggering would be weird then.
Any insights here?
This was a fatal flaw that I didn’t realize until I had ordered the PCB. You’re right, the pinky has two columns, which isn’t as bad as you’d expect.
I still home row on asrt, which I’m really starting to enjoy. I need homing nubs on the keys and I tend to miss click on the top pinky
I think the hardest was the firmware. Everything else was integration
Very cool! What are the points you’re not satisfied with?
Well, I had intended to have my pinkies rest on the outside of the board for a traditional keyboard feel, but I screwed up and my indexes are now on the inner columns.
You also don’t have a real feel for spread or stagger until you put it all together.
I tried regular key caps but they’re too big, and if you’re looking for a modified key layout most key cap sets are saddled and curved.
So, that being said, low profile switches and key caps is the way to go. It also helps to know the difference between mx, kahli, and gateron keys
For getting that feeling folks often recommend printing out the layout and testing how comfortable it feels on paper (of course not gping to be 100% accurate but i’ve heard it helps a lot)
Hope OP will reveal what caps those are, sheesh, very cool indeed.
Some low profile off Amazon, dagaladoo XVX 125 Keys Low… https://www.amazon.com/dp/B0C84C4KCH?ref=ppx_pop_mob_ap_share
Awesome
This keyboard looks great! I love the keycaps you went with here. There’s always something you can tweak next time, but this looks like a really nice first board!


