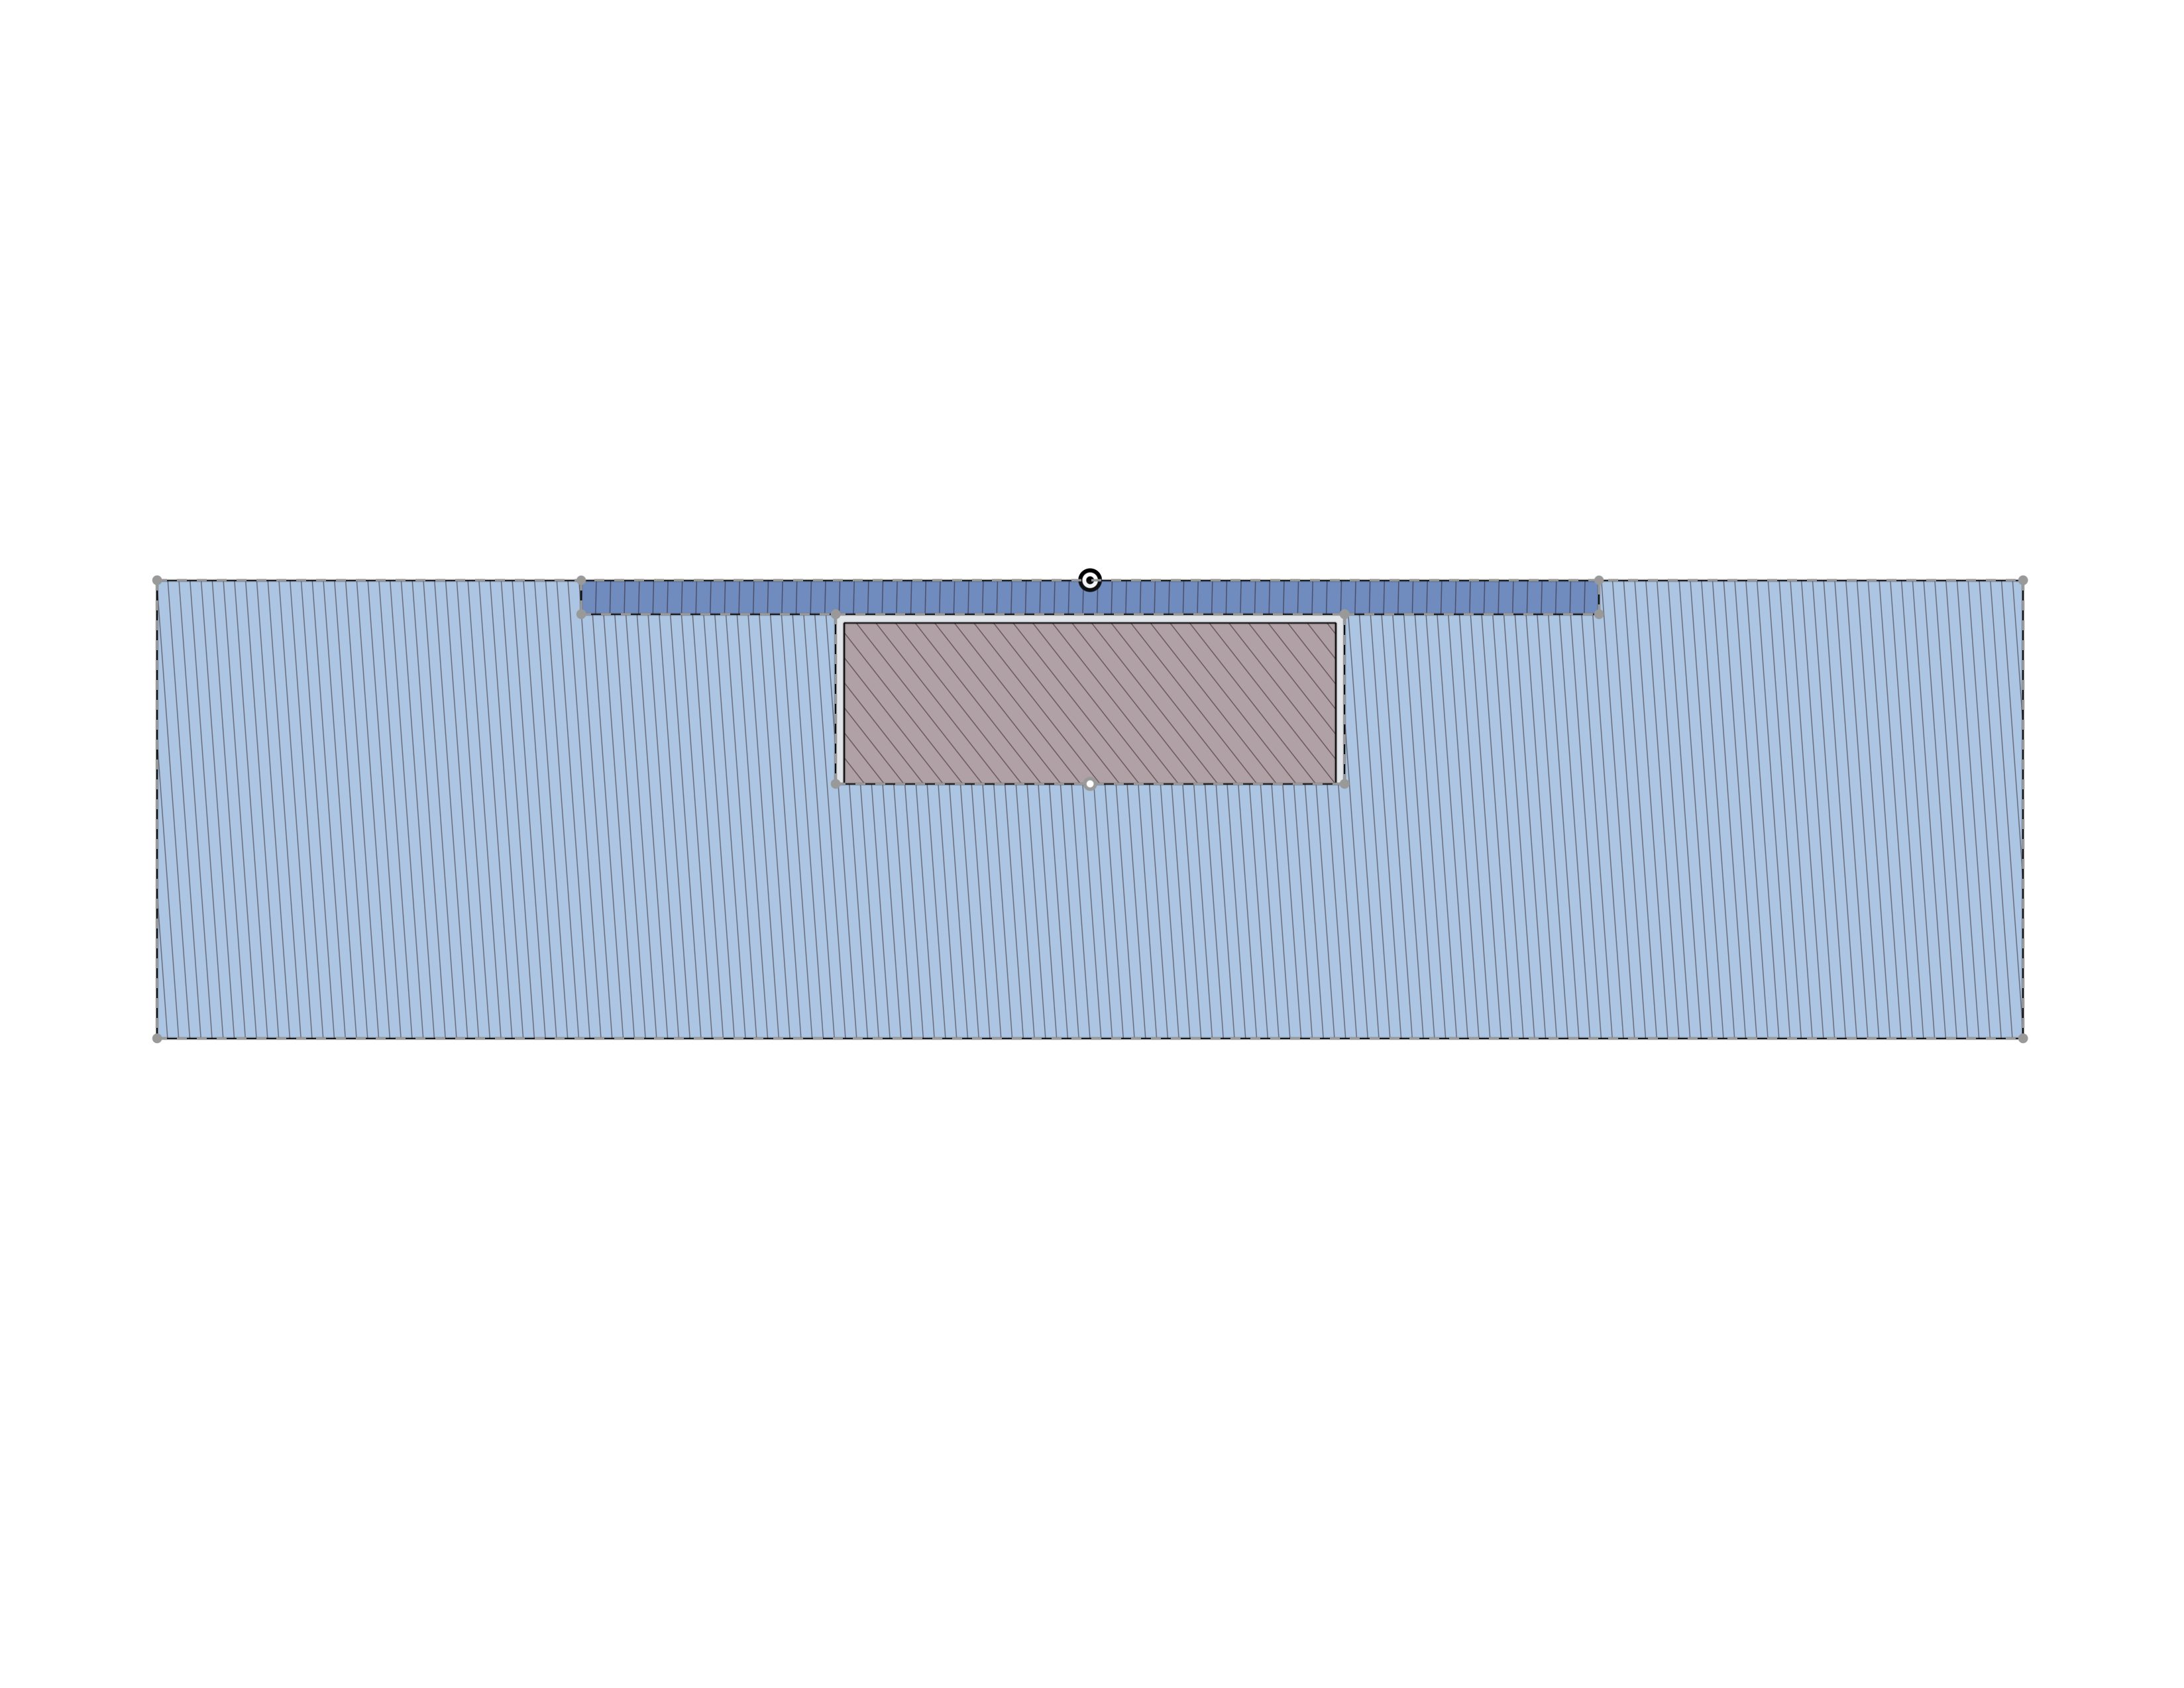
I designed a part that has compartments for small neodymium magnets. The compartments open up on the side of the part, but ideally the entire part should look smooth and featureless, and the epoxy I use is not the same color as the PLA. Also, I’d like to be able to fish out the magnets later, and epoxy is a bit too final for my taste.
So I’m thinking of dropping a small dollop of melted PLA into the openings to seal them, then file / polish them smooth. It would be sticky enough to hold the magnets in place yet easy to pop off with something pointy or sharp if need be.
And to do that cleanly, I figured I’d get me one of those cheap freehand 3D pens as a kind of precision “glue gun” for PLA. And it occurs to me that I might also be able to use it to “weld” small parts together, and hand-write things on parts with a different color filament.
I’m not much of an artist so I have no use for a 3D pen as an artsy tool. But it seems like a useful thing to have alongside a 3D printer, and they’re not that expensive - even the more expensive Mynt3D 3D Pen Pro, which is the one I’m eyeing.
Does anybody know if those 3D pens can be used for small manual reworks / assembly of PLA parts?


Yeah I thought of pausing the print to slip the magnets in before letting the printer seal the holes.
The problem is, it’s a long print and the magnets are located at different heights. So it would stop 4 times and I’d have to watch it to come insert the magnets and hit the resume button. I’d rather be doing something else 🙂
You can use a slicer feature which will pause at some specific layer, if you have a dedicated app on your phone, it will notify you that printer has been paused.
Unfortunately that’s not an option: the printer isn’t mine - it’s my employer’s - it’s 15 miles away and it’s not on the network anyway. It’s a Prusa Mk4 and it doesn’t have the wifi module.
Typically I start a big print before leaving work and it’s ready when I come back the next morning, so I don’t annoy my coworkers using the printer for actual work during the day.
You could also print 2 layer circles/rectangles to cap the hole. Then melt/glue/weld the edges. Could use a soldering iron, hot knife, any glue or the 3dpen to do that and I would think it would give you a more consistent surface than the pen alone (and may not requite it at all). Worth trying at least.
Might even be worth creating a stepped hole to give better gluing surface like:
I thought of doing something similar, but dovetailing the edge of the hole and making the plug slightly thicker so I could actually hammer it in - possibly cold - and make the material flow into the dovetail. Exactly like metal inlays. This would mechanically lock the plug in place.
Unfortunately, the walls around the magnets are really thin, so any hammering or applying heat beyond what a printer would apply laying filament on them is likely to deform / destroy them.
Or just glue it in… The glue is likely to be stronger then the thin layers of the 3d printed plug so you won’t get much from a mechanical interlock. And then there is no pressure or risk of deforming anything.